
Xunlai Jade Junkyard
The encounter will start once you jump or glide down to Ankka. Ankka will instantly shoot multiple projectiles on the group, inflicting ![]() Debilitating Void which further reduces incoming healing by 50%.
Debilitating Void which further reduces incoming healing by 50%.
Periodically the boss will jump around the arena in a random direction, firing a multi-bullet cone attack similar to her initial attack.
Throughout the fight, Ankka will gain a defiance bar that should be broken for a
Phase 1: 100% – 75%
Ankka follows a very specific attack pattern. However, her Hallucination or Death’s Reach attacks will take one of three forms. Ankka will open the fight with a Death’s Reach: Small Hands attack, then will repeat the following pattern:
- Death’s Reach (Small Hands will be first)
- Death’s Reach (Timed Hands will be second, then will choose randomly)
- Hallucination
- Death’s Reach
- Pull
- Hallucination
- Death’s Reach
Death’s Reach
Ankka will perform one of three summoning attacks. Apart from her first attack she will randomly choose from these three summons.
Grasping Horror
Known as: Small Hands
Ankka summons small AoEs where pairs of hands reach from the ground. Standing in these fields deals low damage, but inflicts
Ankka always spawns three circles equally distanced from each other in a triangle shape and additional circles for each player further than those initial three. Stacking directly on top of her only spawns the first three.
Death’s Hand
Known as: Timed Hands
Periodically, three players are targeted by medium-sized AoEs. Once fully loaded each AoE will spawn a single hand, dealing significant damage and inflicting 6x
Players selected by this mechanic should move away from the group, ideally stacking their AoEs in one location.
Snakeheads
Untargetable snakeheads will spawn around the arena, performing a chain of interchangeable attacks: doughnut-shaped AoEs will pull players, while circle AoEs will knock them back. After a short while the snakes will despawn.
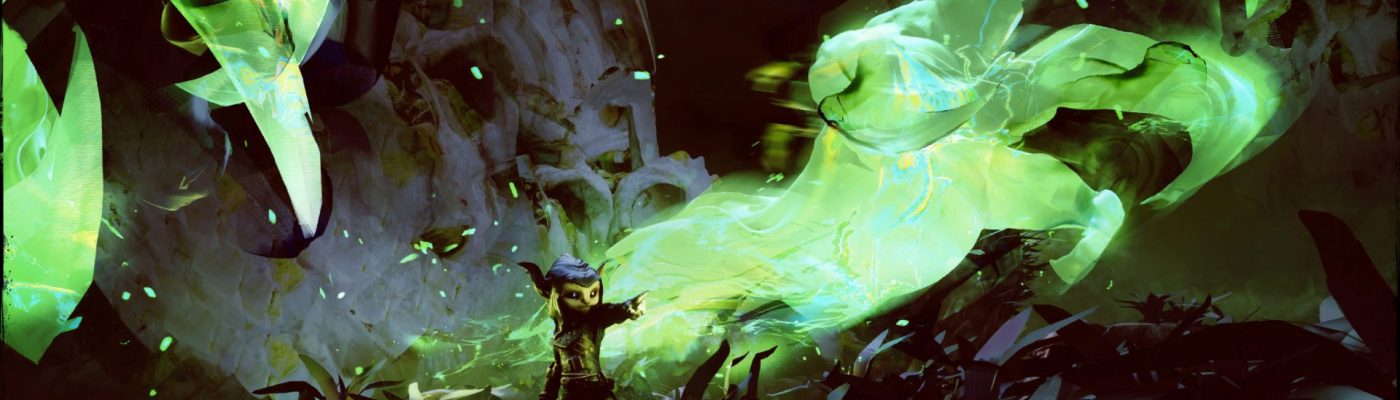
Hallucinations
Ankka will summon one of three types of hallucinations: Exploding Quaggans, Krait, or Lich.
Quaggans
Multiple sets of Quaggans will spawn around Ankka. When their AoEs expand, they will explode, inflicting
Explosions can be avoided by usual means like blocking, dodging or evading. Try to avoid standing in exploding areas.
Krait
Three Krait Hallucinations (or two on the last arena, due to it being smaller) will spawn on one side of the arena and slowly move to the other side. Each hallucination is surrounded by a damaging AoE that inflicts
These Krait will pull players constantly towards their AoEs. When the hallucinations are close run away from the pull.
Lich
One slow-moving hallucination with a medium-sized AoE will spawn in one of the ordinal directions of the current arena and will fixate on a single player. This person (and only this person) will see a blue tether connecting them to the hallucination and will be pulled towards it.
The tethered player should kite the Lich away from the group, as its surrounding AoE deals heavy damage and inflicts
Pull
The boss will perform a Pull attack as the fifth attack in her rotation. Ankka will raise her hand and summon a large AoE in the center of the arena. After a brief moment, she will teleport to that area and will start pulling everyone in.
The AoE will deal heavy damage and inflict
Phase 2: 75% – 40%
At 75% health, the boss will teleport to the next area. The squad should follow her, avoiding large Death’s Reach attacks on the way. These AoEs are not very threatening as their damage is considerably lower than their counterparts from the actual fight. However, stepping in them will inflict
Necrotic Ritual
![]() The boss will start this phase invulnerable and will instantly use a Necrotic Ritual attack. She will summon three Reanimated Spites marked with a crossed-swords icon, as well as many Reanimated Malice spider adds.
The boss will start this phase invulnerable and will instantly use a Necrotic Ritual attack. She will summon three Reanimated Spites marked with a crossed-swords icon, as well as many Reanimated Malice spider adds.
The spiders pose a very low threat to the group and can be ignored. Instead, players should split up and focus on killing or breaking the break bars of the three Spites to break the ritual.
Failing this mechanic results in Ankka getting a Power of the Void buff increasing her damage and decreasing the damage she receives by 25% per add that stays alive. This buff is removed only after her break bar is broken. Additionally, all surviving players get a 50% reduction on received healing.
After successfully interrupting the Necrotic Ritual, the squad should restack on Ankka and focus on her while cleaving her remaining spiders. If ignored these spiders will despawn shortly afterwards.
In this phase, Ankka’s attack pattern will look as follows:
- Death’s Reach (after the first Necrotic Ritual this will always be the Snakehead version)
- Hallucinations
- Pull
- Hallucinations
- Necrotic Ritual
- Hallucinations
- Death’s Reach
Starting from this phase the Pull attacks will spawn four AoEs instead of one. Ankka will try to pull you into one of them.
Under 40%, Ankka will teleport between the four AoEs, changing the direction of the pull. Her next pull location will be indicated by a column of green light. Be prepared to adjust your movement based on her movement and try to stay between all four AoEs or at the edge of the arena.
Phase 3: 40% – 0%
Upon reaching 40%, Ankka will teleport to the third area. This arena is smaller than the previous two. Follow her, avoiding the AoEs along the way. Just as the previous movement phase these are cancelled as soon as someone reaches the new boss area.
Her final attack pattern will be:
- Death’s Reach (Small Hands)
- Hallucinations
- Necrotic Ritual
- Hallucinations
- Pull
- Hallucinations
- Death’s Reach
Apart from the attack pattern change, only two Krait will spawn during the Krait variant of Ankka’s hallucinations attack during this phase.
Finally, there will be an additional Reanimated Hatred add spawning among the spiders. This add will fixate on a player, taking the form of a Wraith and spamming


