
Cliffside

You will enter the fractal looking up to a captured Colossus against the cliffside.
Cultist Hammer
Engage the first set of cultists and defeat them. Pick up the hammer and climb up the Colossus with the hammer.
When picked up, players will gain a condition called Hammer Corruption which slowly ramps up in duration (per second) and can only go decrease by dropping the hammer. Players must take turns journeying through the fractal with the hammer. The player carrying the Cultist Hammer will have a hammer marker above their head.
Hammer Corruption stacks:
![]() The hammer marker will start off yellow, for every 10 stacks of corruption wielder will be inflicted with 1 stack of
The hammer marker will start off yellow, for every 10 stacks of corruption wielder will be inflicted with 1 stack of
![]() 20 stacks: Wielder will be inflicted with weakness and your hammer marker will turn orange.
20 stacks: Wielder will be inflicted with weakness and your hammer marker will turn orange.
![]() 30 stacks: Wielder becomes stunned and hammer marker will turn red (The stun effect can be dodged or avoided with
30 stacks: Wielder becomes stunned and hammer marker will turn red (The stun effect can be dodged or avoided with
40 stacks: Wielder will enter downstate and drop the hammer.
 You must defeat an enemy with the Cultist Hammer to gain a special charge that will give you a special 4th skill called Seal Breaker which allows them to damage and destroy seals on the Colossus, this is often referred to as loading/charging the hammer.
Knee seals
Use the hammer to destroy the seals on the knees of the Colossus, the seals can only be damaged by the Seal Breaker skill. There are two seals to destroy which both require 2 hits to break. There will be 4 cultists near the seal. New cultists spawn after the first four are defeated.
Note: you can drop the hammer after destroying the seals because you will be able to “spawn” a new one by talking to the Displaced Researcher.
Continue through a corridor and come across a number of ramps leading up with gargoyles that push air out of their mouth knocking you off the path.
Commonly players who are knocked down or are just slower will /gg here right after rest of the team will use all chains and reach singularity.
Spawn a new hammer if you dropped it earlier and traverse through a small series of jumps and ramps to the body of the Colossus.
Chest seal
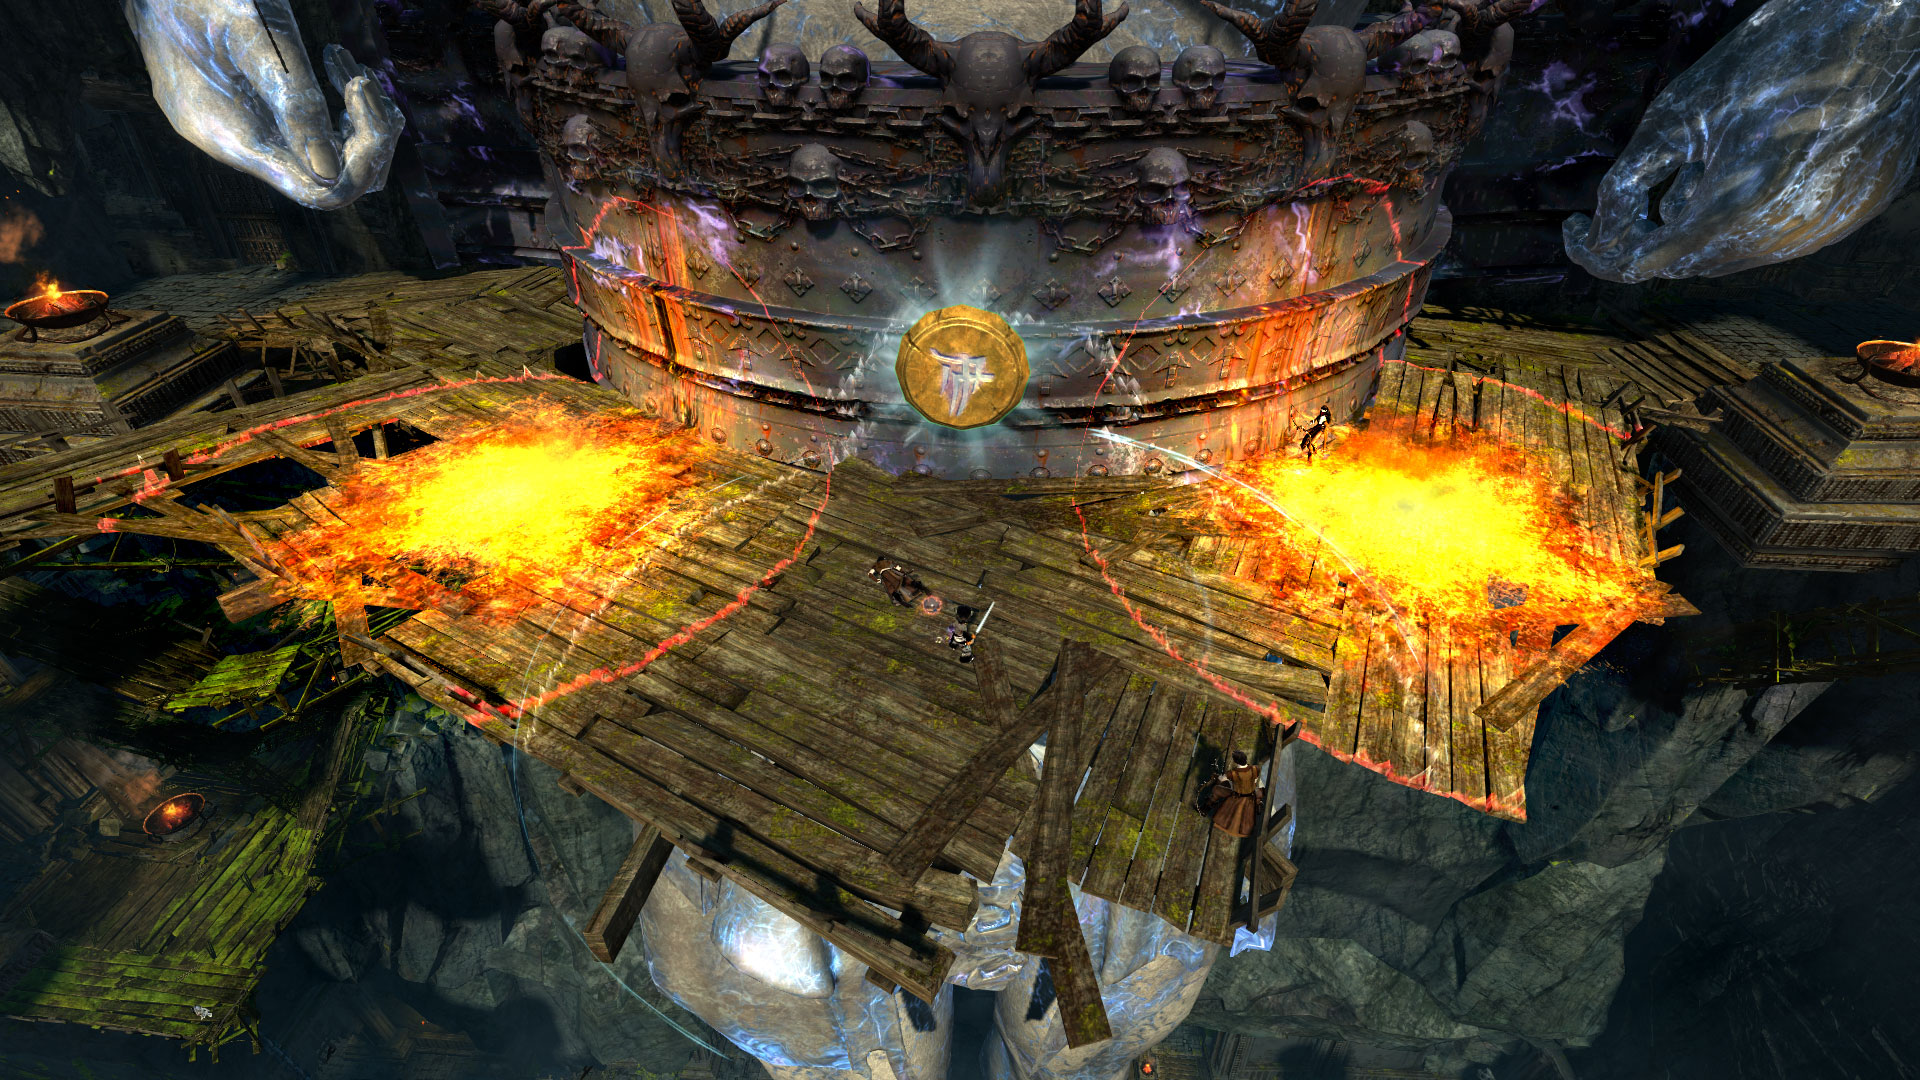
The chest seal of the colossus requires 5 hits to break. There will be multiple damaging fire AoE’s with always one safe spot. Keep moving between the safe spots and charge the hammer by killing the spawning cultists.
After the chest seal is destroyed continue right and climb higher up to then meet the arm seals of the Colossus.
Arm seals
The arms consist of two separate seals divided by a hallway. You will need to alternate between hitting each arm seal. Both seals require 3 hits minimum to break. Not breaking or moving fast enough between them can result in them regenerating. If a seal is hit it will gain a purple shield indicating it can’t be damaged now and you will have to move to the other seal.
Advanced strategy:
Often utilized strategy is using
to quickly teleport between two arm seals. If you are using this strategy keep in mind there is a specific way to maximize your portal time so you can break both seals with only one portal use: White Mantle Portal Device
- place the portal on starting seal
- charge the hammer and break the first seal
- go to the second one and load the hammer
- break the second seal and charge hammer again (ideally, leave some mobs with lower HP alive)
- only now activate the portal and go through it back to the first seal
- quickly break the first seal, go back to the second portal and finish low HP cultist to get final charge on hammer
- break the second seal and go back through the portal to proceed
 White Mantle Portal Device
Once the seals have been broken the Cultist Hammer will be taken from you. Traverse through some ramps which will have explosives that can knock you off.
At the top of the ramps, 4 switches will be present at the end that can turn off the explosive traps, pressing each of them will immobilize you. It is not required however to have 4 players to turn them off. Applying
Neck seal and final boss
Next to the next seal will be the final boss of this fractal, the Legendary Archdiviner who wields the Cultist Hammer. He has four phases.
Every 25%, the Legendary Archdiviner will gain invulnerability and the Cultist Hammer will drop at his feet. Along with that 4 Chanters will spawn around the Seal, they can be killed to charge the Cultist Hammer and damage the neck seal
The Legendary Archdiviner has a couple attack to watch out for:
Channeled corrupt well, Small red AoEs will appear. You will have a couple seconds to stand out of these these circles before they corrupt your boons and apply conditions.
Cone slam attack, Deals very heavy damage
During both of these attacks the Legendary Archdiviner will gain a defiance bar that can be broken for extra damage.
Cage, An orange AoE will spawn underneath people’s feet and if not dodged, players will take damage and be teleported into a cage located on the sides of the room. Players can break out of the cage by damaging it.
Phase 1
Begin the fight with the Legendary Archdiviner, he will also have 4 additional enemies around him. DPS the boss down to 75%, pick-up the hammer, defeat one of the 4 Chanters with the hammer then damage the seal so the boss will become vulnerable again.
Phase 2
DPS the boss down to 50%. pick-up the hammer, defeat one of the 4 Chanters with the hammer then damage the seal so the boss will become vulnerable again. At 50%, the boss will gain a permanent Protection buff that will reduce the strike damage he takes by 33%. Extra mobs will spawn in addition to his 50% threshold.
Phase 3
DPS the boss down to 25%. Pick up the hammer, defeat one of the 4 Chanters with the hammer then damage the seal so the boss will become vulnerable again. The boss will gain a permanent Swiftness buff. He will stop using the channeled corrupt well attack and gain a new effect which he sends projectiles to multiple players simultaneously.
On Tier 4 fractals, he will transition into a demon stance granting him stronger and faster attacks.
Phase 4
DPS the boss down to 1%, he will become invulnerable for the final time and the hammer will drop for the last time. Gain a charge from killing one of the Chanters and destroy the seal, finishing the fractal.


