
Swampland

This fractal will start you out in a foggy swamp filled with traps. After walking to the mark on your map, the pathway will close and 3 wisp clefts will be highlighted in the southern part of the map.
Wisps

Once you have approached 3 wisp clefts, whisps will spawn in multiple locations. You will have a timer shown on how long all 3 wisps must be returned to their clefts (starting from picking up the first one). At least 1 member should attend to each wisp.
Timers are dependent on the fractal level/tier:
- Tier 1 – 1:04
- Tier 2 – 0:38
- Tier 3/4 – 0:30
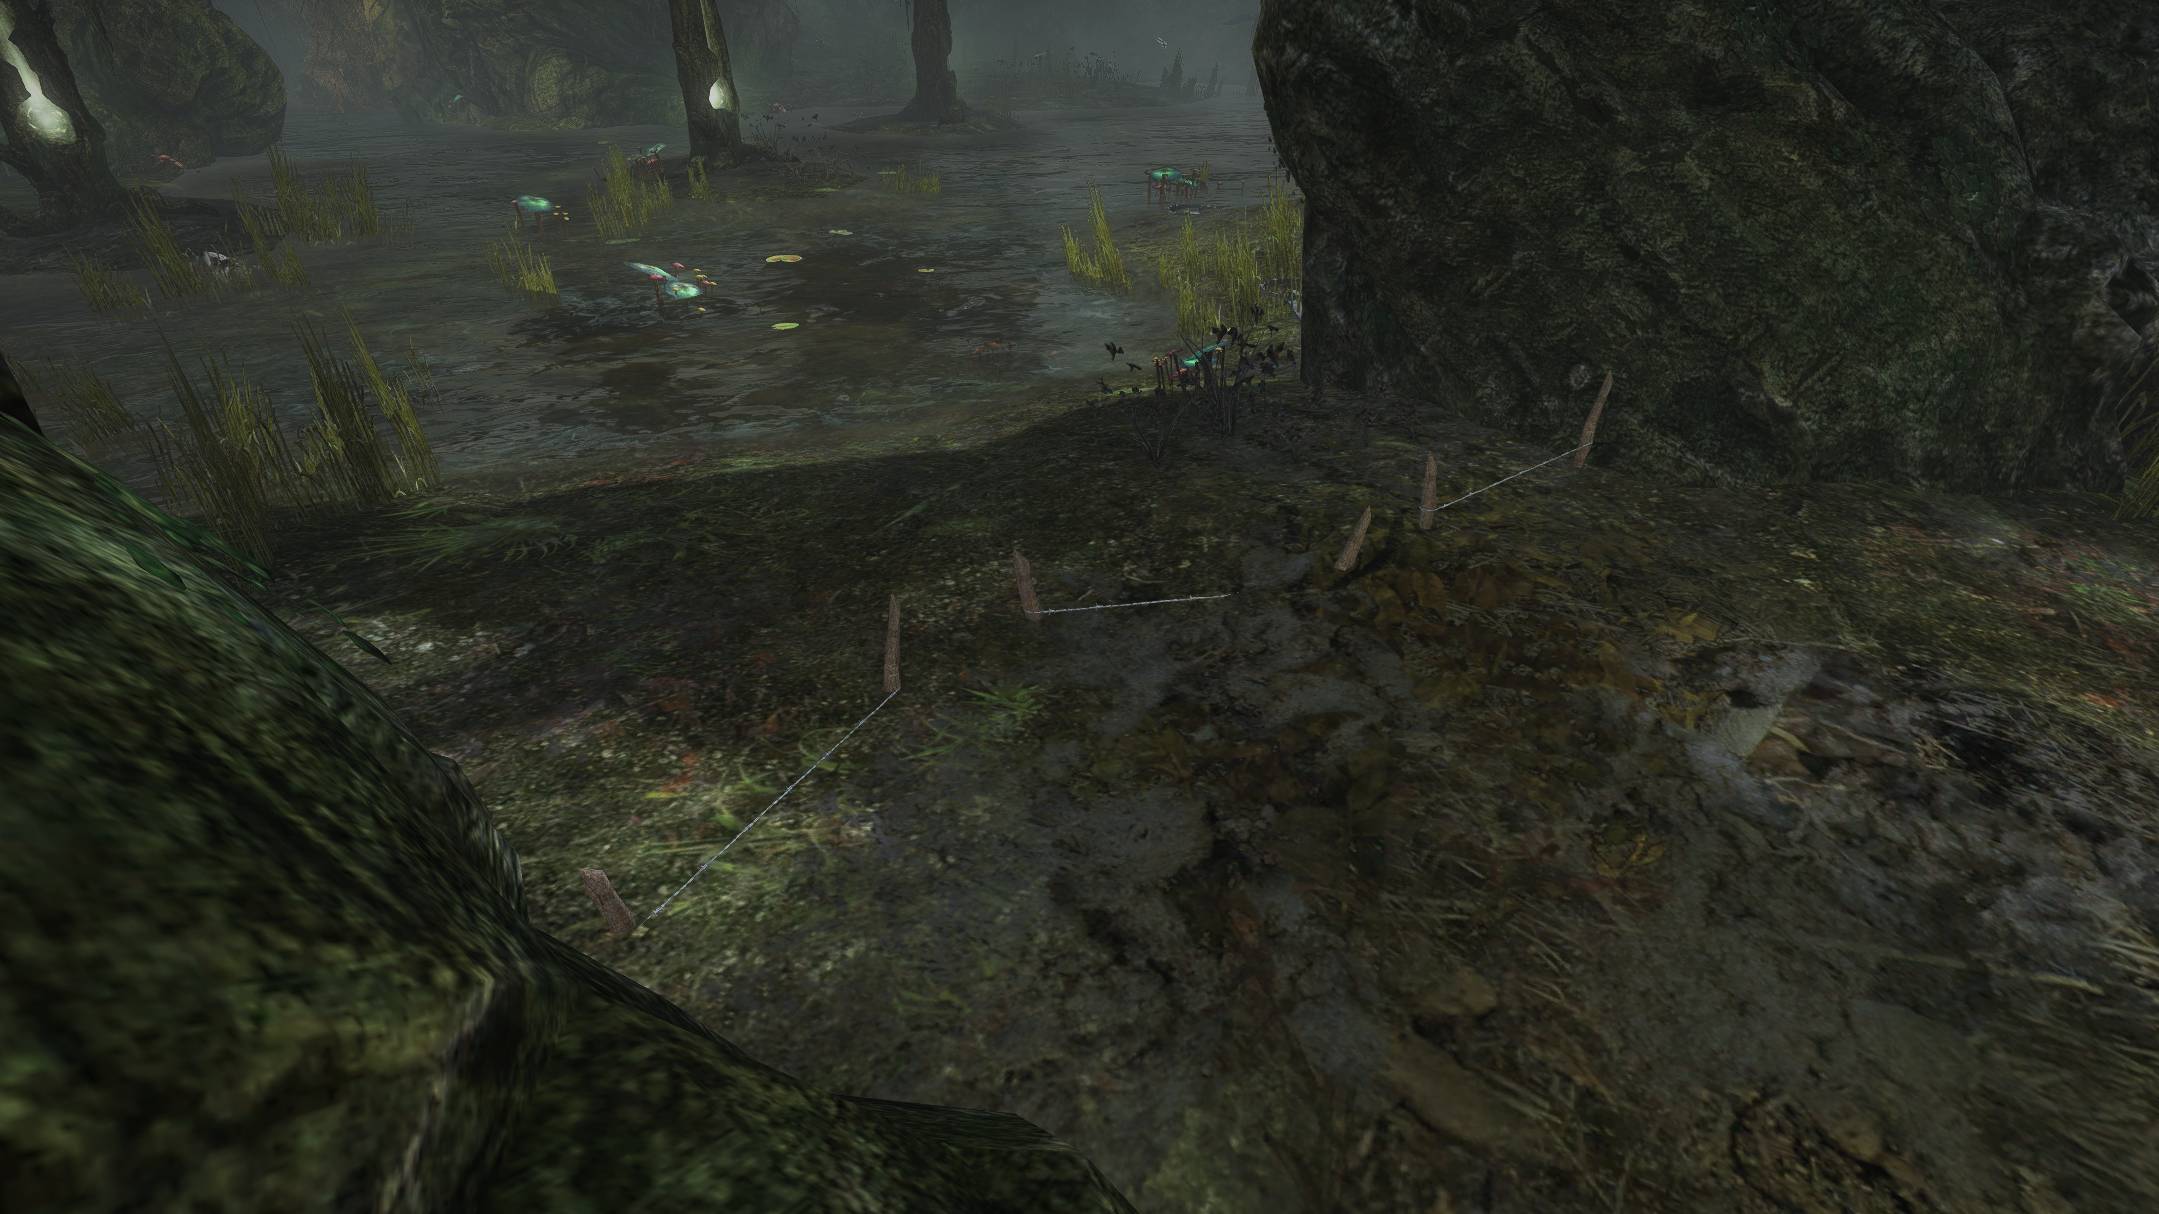
There will be traps that can cripple and knockdown players.
Traps are barely visible, so beware.

Upon picking up the first wisp, walls will spawn blocking certain paths, look for alternate paths when this happens. Some of the obstacles can be climbed over. Each player carrying wisp will have weapon skills unusable, but utility skills can be used, if you don’t know traps locations yet we recommend getting as many teleports, portals,
If a player is downed while carrying a wisp or drops a wisp, all wisps will reset at different locations and the timer also reset. Once all three wisps are deposited to their clefts. A pathway will open progressing to the first boss.
Mossman
Passing through the passageway you will be ambushed by the Mossman the exit of the pathway will stay closed until you defeat him, the boss will summon wolves. But overall it’s a very straightforward fight that you can DPS through.
The Mossman will sometimes stealth up and reappear with a powerful strike, players can dodge or
When The Mossman reaches low health, he will transform into one of the Norn racial elite forms. He will gain a leap skill and will start dealing a lot more damage.
Bloomhunger
When entering the last room, the party will see four wisp clefts around the map and a single wisp in front of the pathway they just passed through. Pick up the wisp and deposit it in one of the clefts. This will make Bloomhunger appear and the 4-phase fight will start.
Boss will spawn invulnerable. To deal damage to him (and the enemies he will additionally spawn during the fight), he must be brought into the green AoE’s that spawn at wisp clefts. The first green AoE that will spawn will be at the cleft that was interacted with. Eventually, the green AoE will pulse, shrinking and appearing to the next cleft clockwise. Players must move around to the green AoE’s to continue damaging the boss and enemies that spawn.
Standing in the green AoE gives players a ![]() Wisp Vigor buff, which increases endurance regeneration by 100%.
Wisp Vigor buff, which increases endurance regeneration by 100%.
Bloomhunger has a couple of attacks to make note off:
Charge
Bloomhunger will stand up before charging toward a player, doing a swipe at the end of his charge damaging and knocking down any players caught in it. Dodging,
Leap & Pound
Bloomhunger leaps toward the players and a large AoE appear on the ground where he will land, damaging and knocking down any players caught in it. Dodging,
This will usually be followed by a Pound attack, where Bloomhunger starts pounding the ground with his fists. Dodge out of the AoE and follow circles or break his defiance bar during this attack.
Poison Rain
Bloomhunger will shake back and forth shooting out poison fields in an arc. These projectiles can be reflected.
Additionally, Poison Blooms will be located around the room which inflicts
At 75% and 50%, the boss will become invulnerable and walk to the middle. Players will then be swarmed with waves of enemies that have the same invulnerable mechanic as Bloomhunger and need to be lured into a green AoE. A progress bar will spawn showing how many enemies need to be killed and once completed you have to then fight Bloomhunger again. At the end of each of these phases, an additional Champion Oakheart will spawn. Players can choose to kill or simply ignore the Oakheart.
At 25%, the boss will become invulnerable and 4 wisps located at precise locations will need to be picked up and moved to the clefts located around the boss within 30 seconds, check the mini-map for where they are located. Completing this phase will allow you to finish Bloomhunger in the center of the room.


